How a Rough-In Inspection Works on a Bathroom Remodel in Riverside
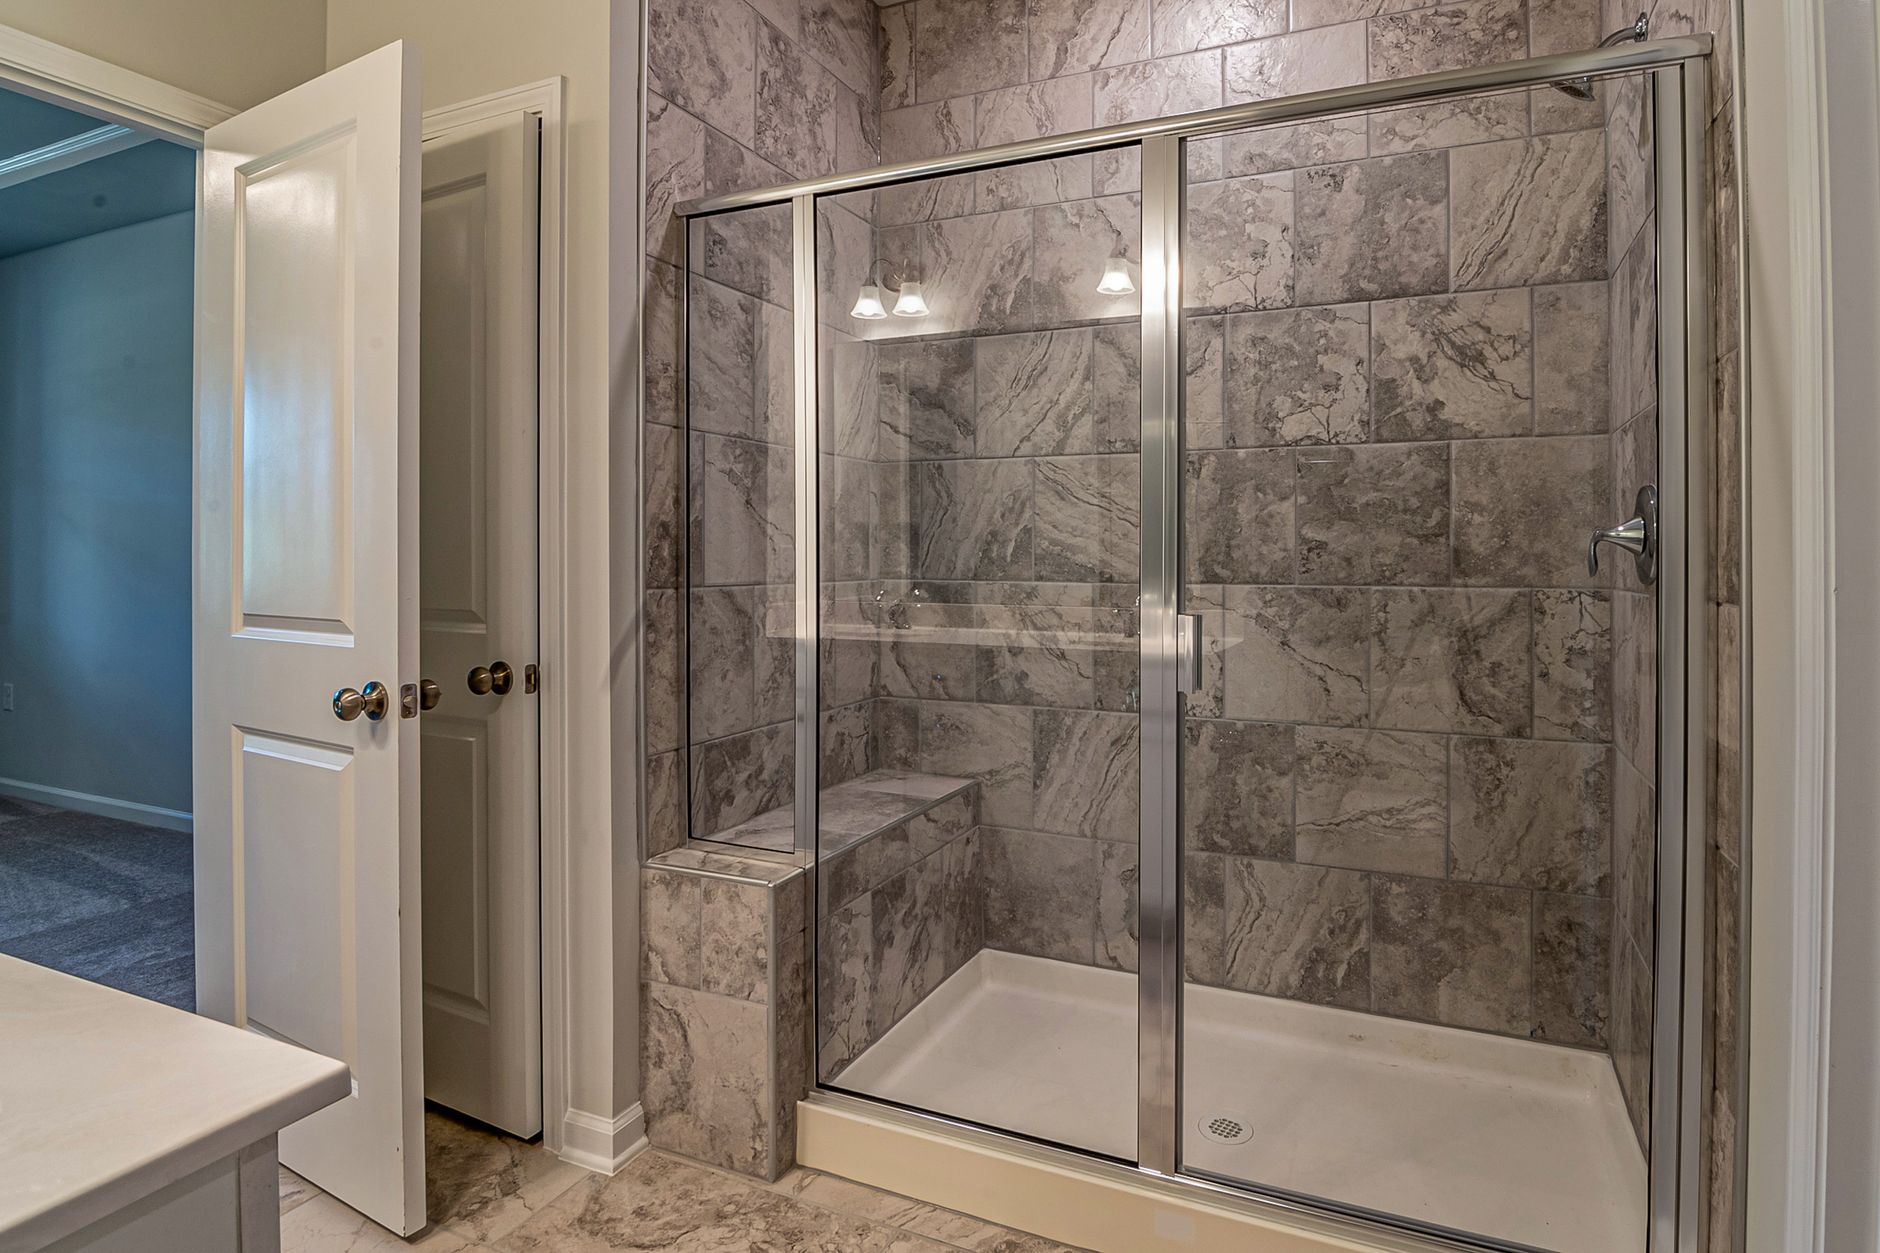
The inspection of a bathroom remodel happens twice, and the first one is the one nobody sees. It takes place while the studs are bare, the pipes are exposed and the new valve is still sitting loose in the wall. Once drywall or backer board covers that work, every question about it has to be answered by cutting tile out again. Crews working in Riverside, CA learn to treat the open-wall stage as the real finish line for the hidden work.
What is the open-wall inspection and why does it matter?
An open-wall inspection is a pause in the schedule. The demolition is finished, the old tub, vanity and shower pan are gone, and the plumbing and framing are laid out in plain view. The building department in Riverside County sets its own inspection stops for permitted plumbing and framing work, and a crew that works to those stops tends to finish with fewer callbacks. The stop exists because a leak inside a wall is cheap to prevent at this point and miserable to chase later.
A bathroom in an older house near Fairmount Park or on one of the streets around the Mission Inn may have been opened and patched by three different owners. The inspection is where those patches show themselves: a section of copper joined to galvanized, a drain with a different slope than the one beside it, a framing member that was notched too deeply for a pipe. Every one of them is easy to fix with the wall open.
What gets checked, and in what order?
The order matters, because each step depends on the one before it. A crew that tests the supply lines before the framing is sound ends up testing a system that is about to be moved. The sequence below is the one most remodel crews settle into.
- Framing first: studs, plates and joists are probed for rot, checked for plumb and checked for notches that weaken them.
- Subfloor second: sheathing around the toilet flange, the tub and the vanity is pressed and probed for soft spots.
- Drain lines third: slope, trap condition, vent connections and joint quality are checked before anything is covered.
- Supply lines fourth: shut-off valves, the shower valve and mixing valve, and every fitting are tested under pressure.
- Blocking last: backing for grab bars, towel bars, a wall-hung vanity and a heavy mirror is set into the framing before the wall closes.
Blocking is the item homeowners forget most often. A towel bar screwed into bare backer board pulls out in a month, and a grab bar that has nothing behind it is a hazard. Two by eight blocking set flat between studs costs almost nothing while the wall is open and cannot be added later without cutting tile.
What does the crew look for in each part of the wall?
The table below lists the usual findings, why each one matters and what normally happens next. It is a pattern, not a rule, and a crew adjusts to what the wall actually shows.
| Part of the work | What the crew looks for | Usual next step |
|---|---|---|
| Bottom plate and studs | Brown staining, soft wood under a screwdriver, old mold | Cut out rotted wood, sister in new framing, dry the cavity |
| Subfloor | Delaminated plywood, dark rings around the flange | Fix the leak source, then patch or replace the sheathing |
| Shut-off valves | Mineral crust, a stem that will not turn, green corrosion | Replace with quarter turn valves and new supply lines |
| Shower valve and mixing valve | Worn cartridge, scored seats, wrong depth for the new tile | Replace the body or cartridge and reset the depth |
| Drain and P-trap | Flat or backward slope, pinholes, loose slip nut | Re-slope the line, replace the trap, flood test |
| Vent line | Capped or disconnected vent, reversed fittings | Reconnect and reroute so each fixture reaches open air |
How are the pipes tested before the wall closes?
Supply lines are capped and pressurized with air or water, and a gauge is watched for a drop. A needle that holds still for a stretch of time means the joints are sound. A needle that creeps down means a weep somewhere, and the crew goes along the line with a dry paper towel until the damp spot shows. This is the same logic as checking a tire for a slow leak, and it works because a pressurized pipe tells the truth about every joint at once.
Drains get a different test. The line is plugged downstream and filled with water, and the level is watched against a mark. If the level drops, a joint is leaking. If it holds, the pipe is tight. The test also shows the slope, because water that pools in one section of the line instead of running toward the plug points to a belly. A P-trap that leaks only when full will often show up here and nowhere else.
The shower valve and mixing valve get tested through their full travel. The crew runs the handle from cold to hot, watches for a leak at the body and at the stub-outs, and confirms that the hot side really is hot and the cold side really is cold. A reversed supply is common in houses that were remodeled in a hurry, and it is far easier to swap two pipes now than to explain a backward faucet later.
Why does valve depth get checked at this stage?
A shower valve has a depth range, and the finished wall has to land inside it. The crew measures from the face of the framing, adds the backer board, the thinset and the thickness of the tile, and compares the total to the range printed on the valve body. A thick porcelain tile or a stone mosaic pushes the finished face out further than subway tile does, so the same valve can be right for one wall and wrong for the next.
Set too deep, the trim cannot reach the valve stem and the handle looks sunken. Set too shallow, the plate will not seat and sits proud of the tile. Both problems are fixed by moving the valve, which is simple now and requires a tile cut afterward. The depth gets written down on the framing in marker, so the tile setter has the number in front of him.
Who looks at the work besides the crew?
A permitted bathroom remodel in Riverside County gets a visit from a city or county inspector at the rough stage. The inspector looks at the drain slope, the vent connections, the supply materials and the framing, and signs off before the wall closes. A crew that has been through the process many times builds the inspection into the schedule, because a missed sign-off means opening finished work. On homes near the University of California Riverside campus, where many houses are rentals with a history of quick repairs, the inspector often finds the most surprises.
Independent checks also help. A second person with a flashlight and a level will often spot what the person who built the work stopped seeing. Photographs of the open wall, taken from several angles with a tape measure in the frame, make a useful record. They also let the next owner know where the pipes and the shut-off valves run.
What happens after the inspection passes?
With the framing sound and the plumbing tested, the wall can close. Waterproofing goes over cement board or backer board in a continuous membrane, with the seams sealed and the valve and shower pan penetrations taped. The shower pan or shower base is flood tested a second time, and the water is left standing long enough to show any slow leak. Only then does the tile go on, set in thinset and finished with grout and caulk at the corners and the tub line.
The finished bathroom may look like a magazine photograph, but its reliability depends on what happened in the weeks before. A sound subfloor, a clear drain and a valve that turns freely do not show in a picture. They are what keep the room dry for years, whether the house sits near Mount Rubidoux or down in the flat country by the Santa Ana River.
What is the short version?
Inspect the hidden work with the wall open, test every line under pressure and write down every measurement. The tile is only as good as what is behind it.